Creating Rays of Light in Figma
Give some flair to your gradient backgrounds

Welcome! This is the first entry into Kojo’s (hopefully long-running) series of tutorials for Figma. I’m Tyler, and I’ll be your guide. This series will focus specifically on tips and tricks you can use inside Figma to amplify your designs and user experiences. I assume you have a basic understanding of Figma’s UI and features. I’ve gone ahead and linked out to Figma’s docs for select terminology just in case.
In this tutorial, we’ll be looking at how to make subtle light rays in Figma. While we’ll be designing the specific composition in the header for this tutorial, feel free to experiment with the final product and come up with your own designs!
Let’s get started.
Creating a light source
For starters, we need to show where our light is coming from. We can achieve this using a simple two-tone mesh gradient. While a radial gradient might also work here, using a multi-colored, blended gradient will feel a tad more natural.
Start by drawing a couple of colored circles onto a frame with a dark fill:

You can make them any color you wish, though the effect works best if they are both of a similar shade. Once you’ve done that, go ahead and a layer blur of a few hundred pixels (I used 200):
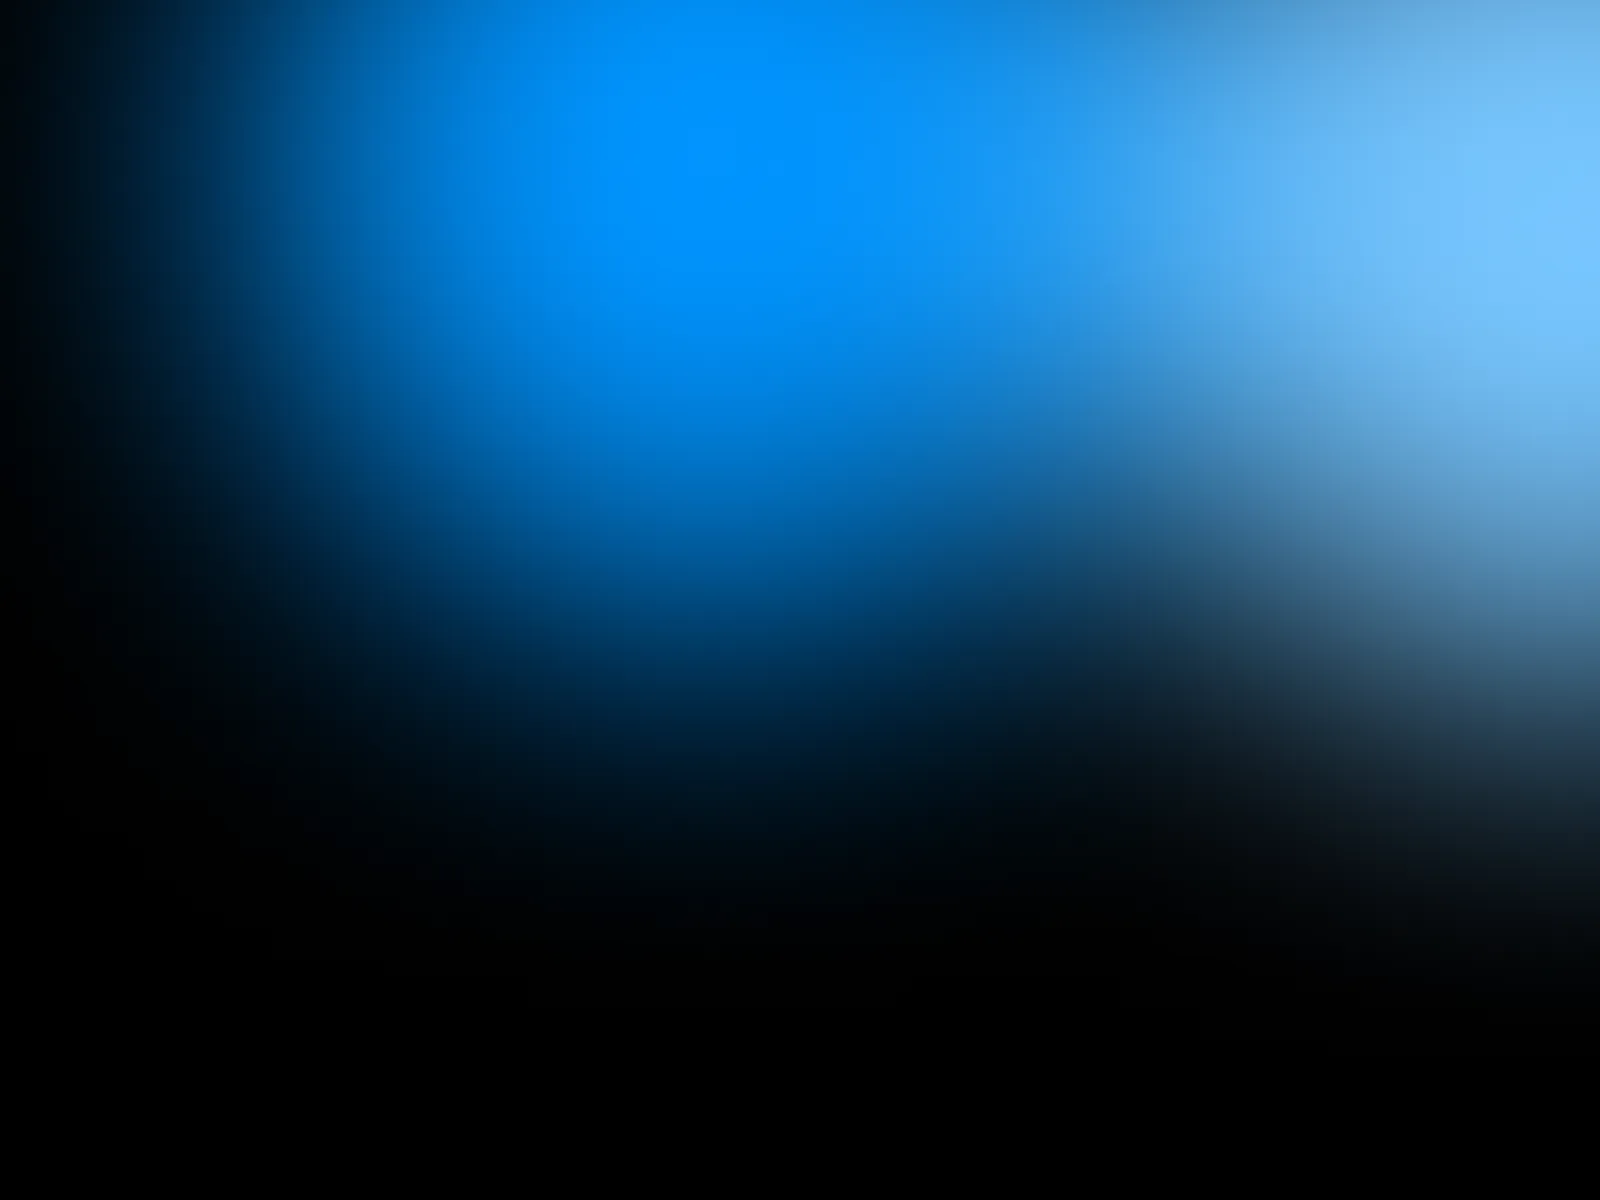
Already it’s starting to come together!
Adding the rays
To add in the rays of light, we’ll want to use the polygon shape tool. Create a triangle and add a ridiculous number of sides. I maxed mine out at 60.
Add a gradient fill to the shape and set its style to angular. Add several different gradient stops, all set to white (#FFFFFF), with varying opacities. Group them on the side of the polygon you plan to use for your rays. The alternating opacities will create the effect of light filtering in.
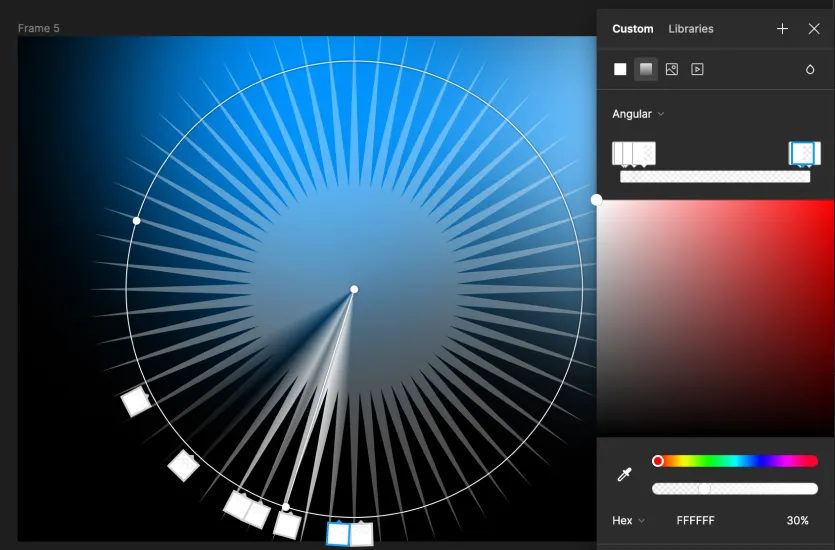
Next, reposition the polygon to the upper right-hand corner and make it massive, so only a handful of the “rays” are visible.

Apply a soft layer blur. I used 30px. Change the blend mode of the polygon to “soft light”.

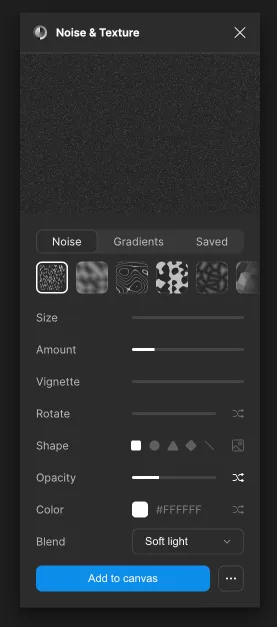
As a final finishing touch, you can add noise to the composition using the Noise & Texture plugin by Rogie King. I added a white-colored noise with the Blend Mode set to “soft light”, Amount set to 25%, and Opacity set to 100%.
Bonus
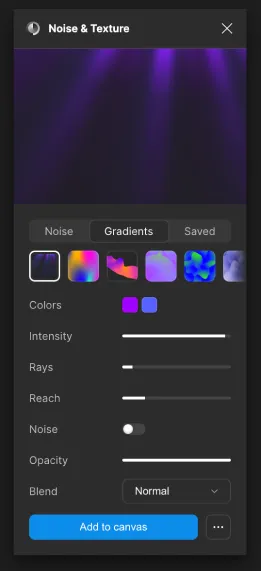
While I personally like the effect this tutorial yields better, you can also create light rays using the same Noise & Texture plugin as well! Just select the “Gradients” tab and it’s the first option.
That’s it for this tutorial, and if you find that you yourself don’t enjoy designing – let Kojo do it for you. See you next time!